Winter is the time of year where we really focus on keeping good bacteria in our guts.
Yes, good bacteria.
In this day and age we are all a little too scared of bacteria. Granted that word does conjure up mental images that, ahem shan’t be shared, our bodies need a little bit of bacteria to stay running properly and healthy. This was something that the folks of yesteryear knew very well yet this knowledge has been lost over the years. Good bacteria lives in your intestines and keeps everything…you know, happy.
Better known as probitotics, these little organism swim around in our gut to help keep things regular and to boost the immune system. Sauerkraut, kefir, kombucha, kimchi, yogurt, and any other lacto-fermented foods are full of probiotics, and are an important add in to any diet.
Since we’ve covered kefir and kombucha, let’s talk about yogurt. Yogurt is milk that has been warmed and infested (hows that for a word) with tiny little gut loving good bacteria.
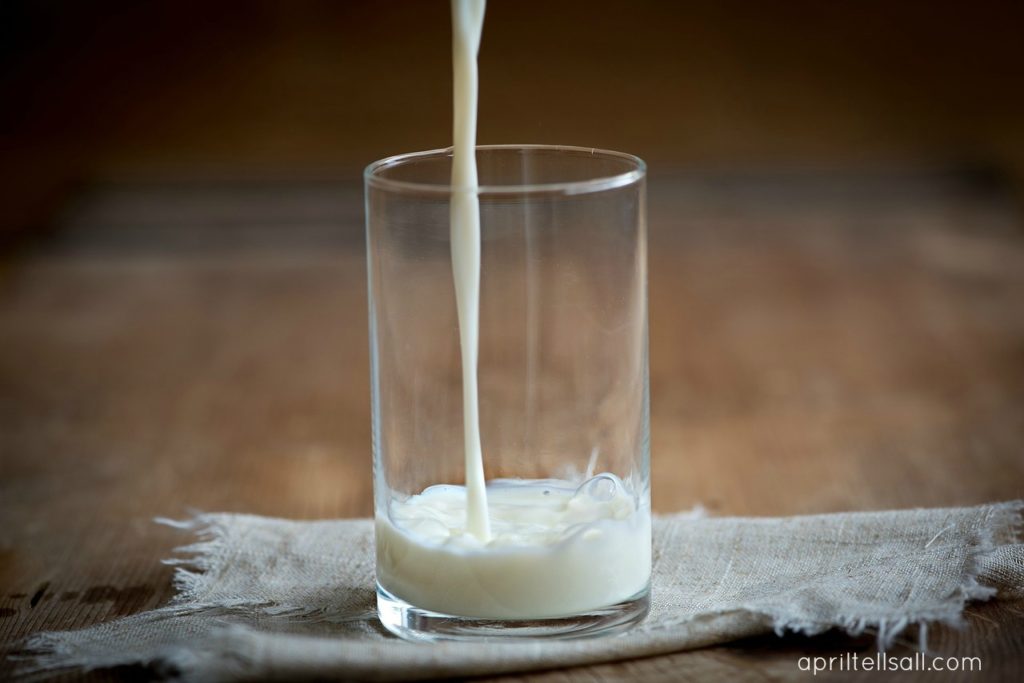
Yogurt making is also somewhat frugal. Have you seen the prices of yogurt these days? Yikes! Of course having a dairy animal puts it over-the-top frugal, but that is hardly do-able for many people. Before we had our goats, I used to buy milk that was discounted at the grocery store and freeze it. Whenever I wanted to make yogurt I just pulled a litre out of the freezer the day before and let it thaw.
The yogurt making process is pretty straight forward. You do need to have some store bought yogurt on hand or a yogurt starter culture to get started. Then it’s all just a matter of getting it to the right temperature and waiting. Yogurt is best started first thing in the morning because of how long the process is. Mine usually takes close to 12 hours. You can let it sit overnight so you can have yogurt for breakfast, but personally I don’t like warm yogurt. I like it after it’s had time to rest in the fridge. I also highly recommend having a candy thermometer for this. It makes the whole process easier and you yield better yogurt because you aren’t guessing. I incubate and store my yogurt in a glass or metal bowl. I have found that yogurt incubated and stored in plastic tends to not stay as thick.
This post contains affiliate links, which means that should you click on one of the links I’ve provided I will make a small commission off of anything you buy at no extra cost to you.
Homemade Yogurt
You Will Need:
1 litre of milk (whole or 2% makes a nicer, creamier yogurt. You can use skim or 1% but it will be more watery)1/4 cup of plain yogurt with active bacteria cultures.
Candy thermometer (like this one)
Glass or metal bowl for storing (I have these)
Directions:
Step One
Warm the milk in a saucepan on medium low heat, stirring regularly to prevent the milk from scalding. You want to heat the milk until almost boiling. On a candy thermometer you’re looking for the temperature to be around 180 -190°F. If you don’t have a thermometer just watch for when the milk starts to steam and gets foamy. Be sure to not let it boil. The fat will separate giving you a lumpy or curdled yogurt.
Step Two
Remove from heat and let cool to 112 – 115 degrees. Stir occasionally to keep a skin from forming (or if you happened to get distracted when you were supposed to be stirring and warming the milk in step one and it just so happened to scald slightly and you now have browned bits of scalded milk floating on the top, let a skin form and just pull it away removing the bits of browned milk with it….don’t ask how I know this).
Step Three
When the milk has cooled, take your 1/4 cup of commercial yogurt and thin it out with a couple of tablespoons of the warmed milk. This will help it spread evenly when you add it to the warmed milk. If using a commercial starter be sure to follow the instructions on how to properly add the starter.
[wp_ad_camp_1]
Step Four
Pour in the prepared starter and softly stir to incorporate.
Transfer the warmed milk with the added starter to the bowl you want to store your yogurt in.
Step Five
Put the bowl someplace warm and let the bacteria do it’s thing. I always put it in my warmed oven. Ideally you want to keep the temperature at around 110°F. I warm up my oven, put the bowl in, turn off the oven and leave the light on to keep the warmth. I know others who leave it near their wood stove, or put the bowl on a heating pad. If you’re using either of these last 2 methods be sure to cover the yogurt to help hold the heat in.
Step Six
Leave it be for anywhere from 8 to 12 hours. I’m serious when I say leave it be. Don’t touch it, or move it, or breathe on it too hard. That bacteria likes to be.left.alone! It will set up better if it doesn’t move. I usually check on mine after 8 hours. By that point it should be pretty much set up, and I can gauge how much longer it needs to sit. The longer it sits the tangier it will get.
Once it is done move it to the fridge.
Volia! Homemade yogurt. Just be sure to save a 1/4 cup for your next batch.
And now you may make yourself a gold star or a crown because you, my friend, are a totally awesome frugal yogurt making rock star.
Rock on!


