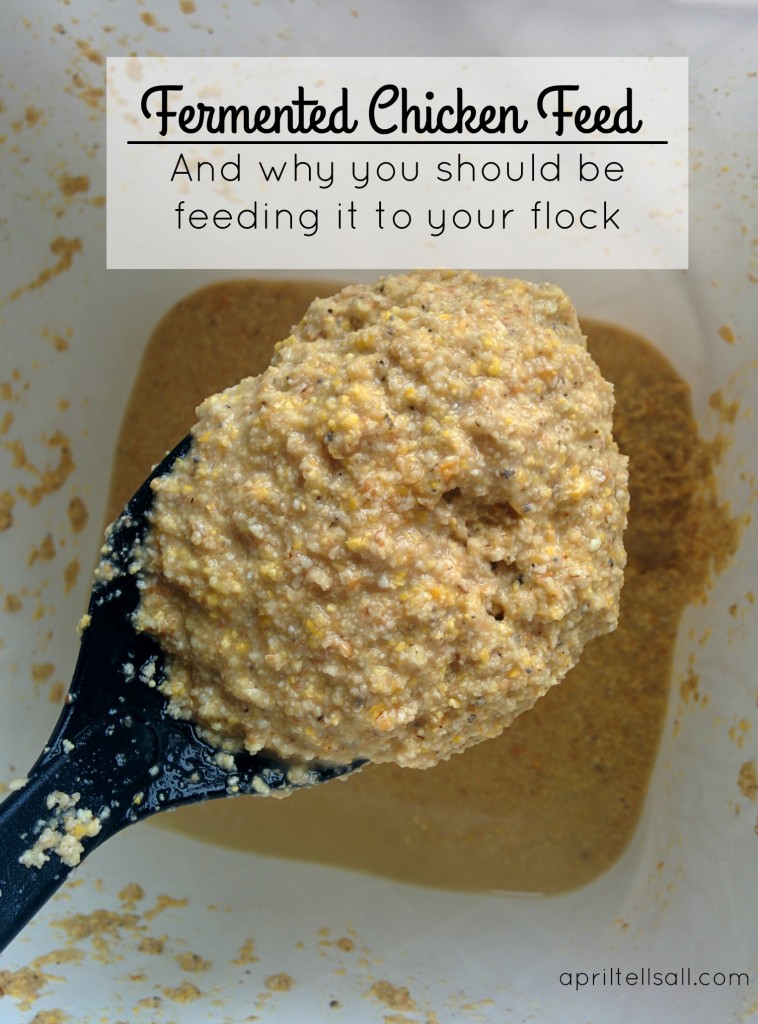
Fermented chicken feed is not new. If you google it there are lots of articles explaining how to do it. But I’m surprised by how few farmers/chicken keepers actually do it.
I was one of them. I thought I have enough to do in the morning, adding one more finicky thing is not going to help me. What if they don’t like it? What if it molds? I can’t afford to waste all that feed.
Feed ain’t cheap, yo!
But then my co-worker and fellow chicken keeper brought it to my attention once more. So I read a few more articles on it and decided to just go for it.
The main reason was because it claimed to save you money.
And I am all for that!
There are two main methods to fermenting the chicken feed. One has you making up 3 different jars (or in my case buckets) and moving through them. For example you start one jar, that one is day 1. The next day you start another jar and that one is day 2. Lather rinse repeat for one more day. Day 3. On day 4 you feed the jar from day 1 then refill it and put it to the back of the line. Day 5 you feed jar 2 and just cycle through the days. You always have a jar fermenting.
Here’s the thing about me. I forget things. A lot. I could start out all ready to go on day 1 and by day 2 I would completely forget to start another bucket.
My other problem was space. You need a temperature of around 70°F for the feed to properly ferment. I keep all my chicken feed in my mud room, which is not insulated. This meant that my fermented feeds would have to be in the house. My goat feed is kept in the basement but my basement is horribly cold. So the fermented feed couldn’t be down there either. I didn’t want a bunch of buckets lined up in my kitchen.
So I went with the one bucket method.
It’s easier, less to remember, takes up less space, and still gets the job done.
[wp_ad_camp_1]
Here’s what you do.
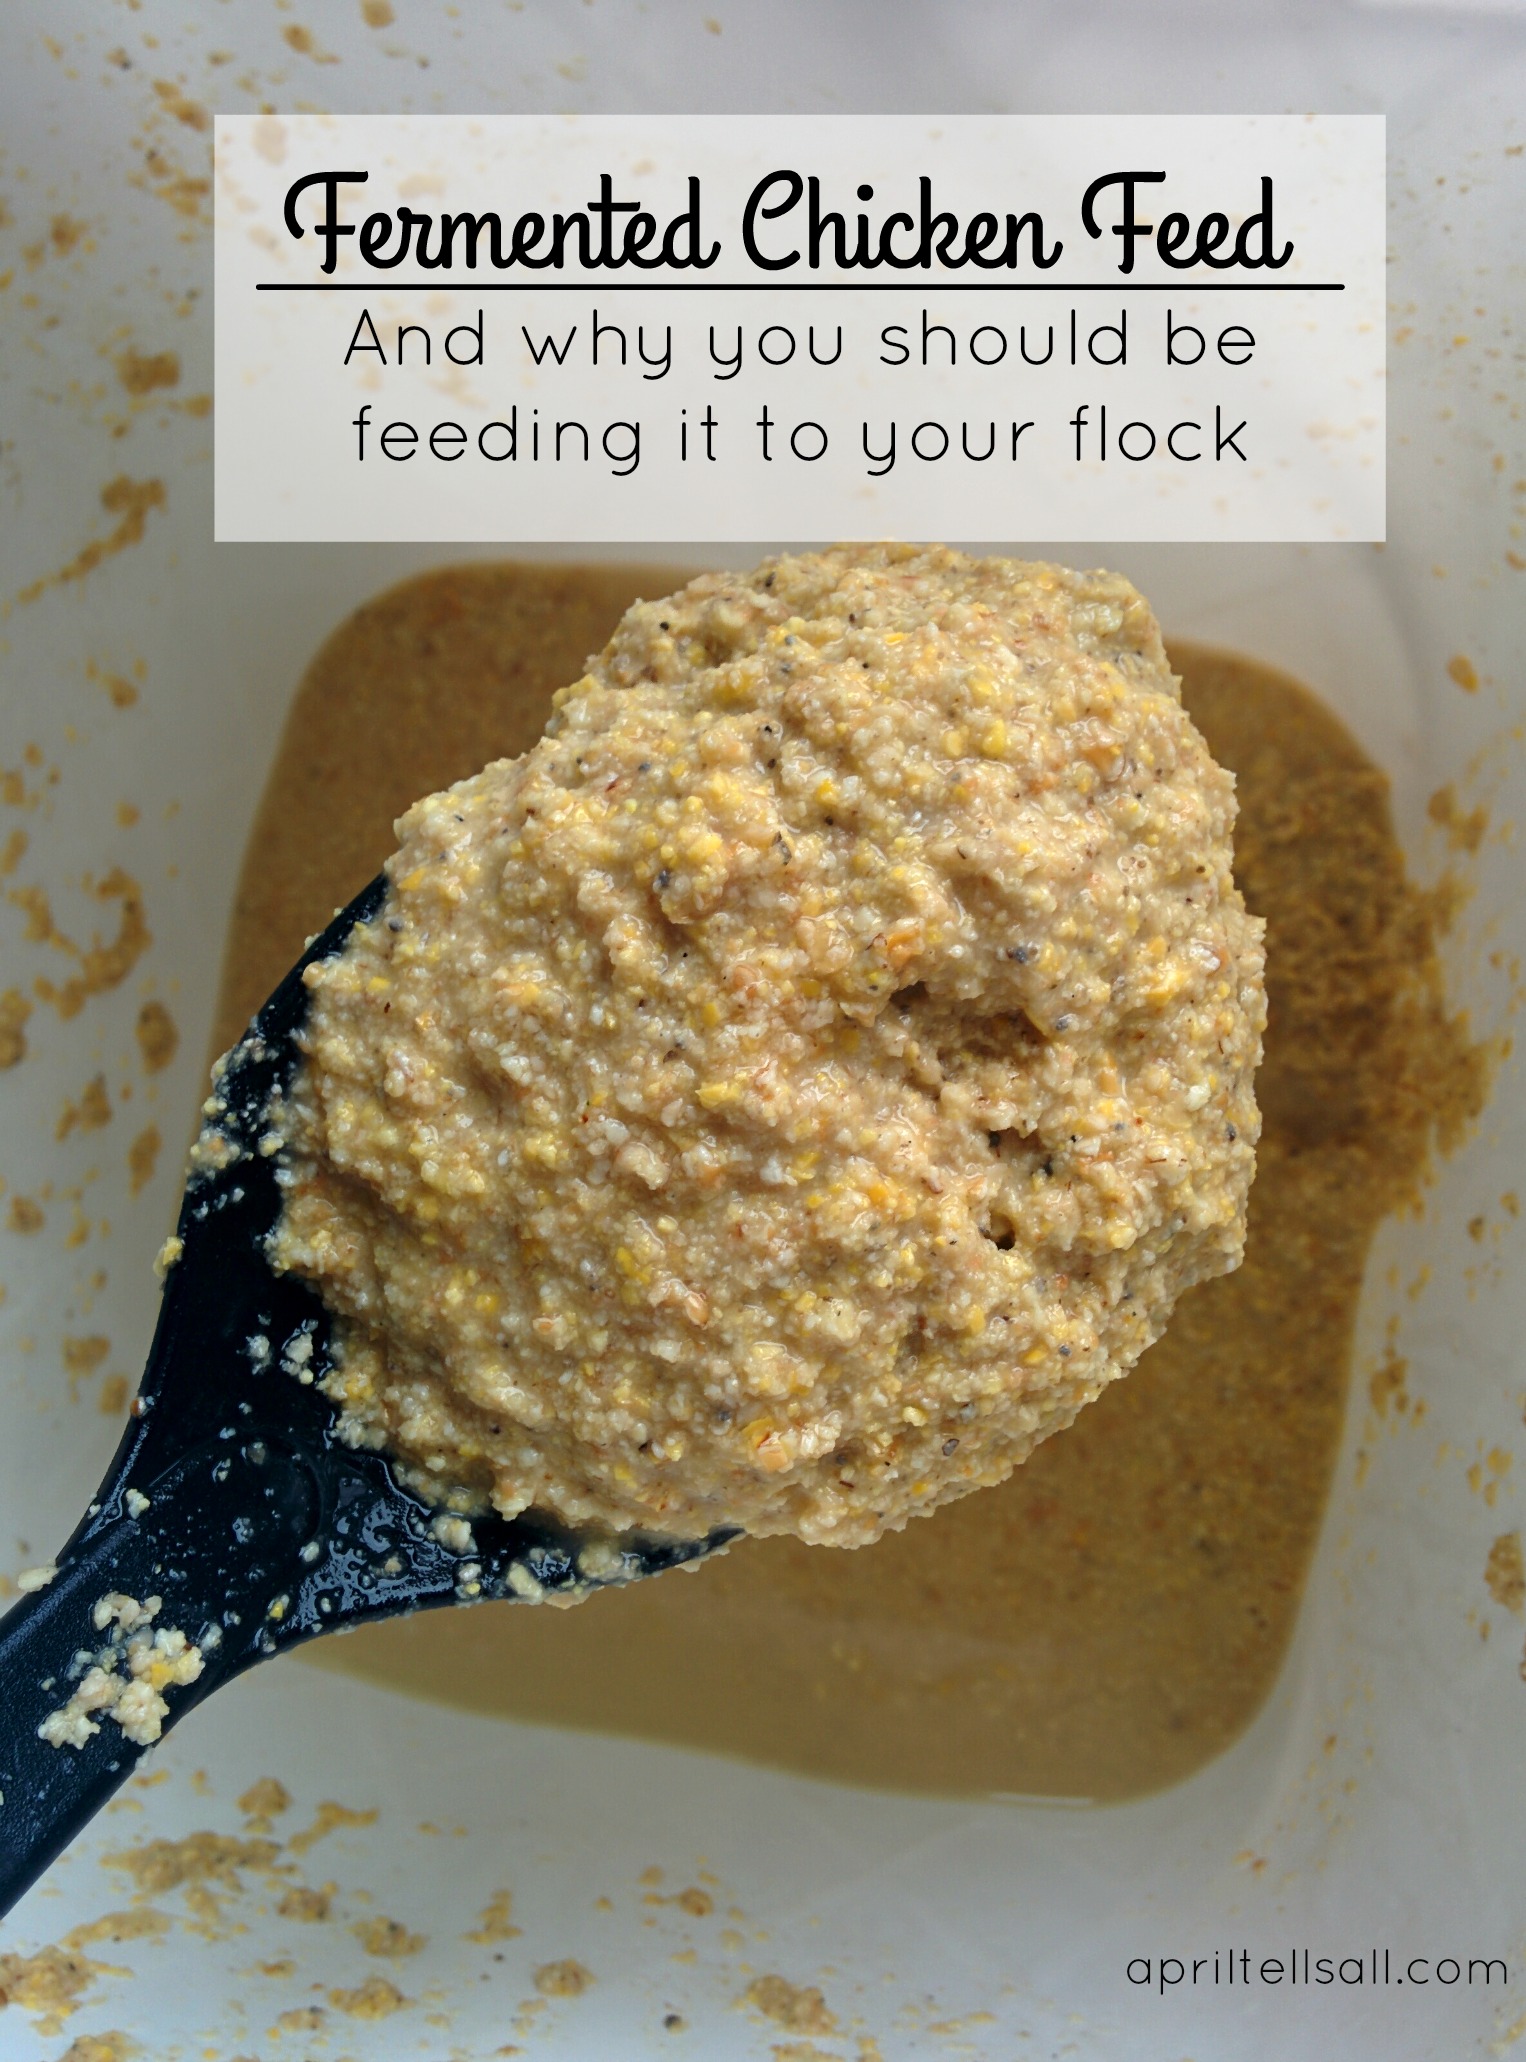
Day 1. Add chicken feed to a bucket (or jar). The estimate is 1/3 cup per chicken for the day, so I started there. Once you get into the rhythm you will know how much you need to ferment for a day. As a guideline the 1/3 cup rule is pretty close. Add any extras you may want. I added a small handful of alfalfa pellets, a sprinkle of kelp, and a 1/4 cup of flax seeds. I don’t recommend sunflower seeds because they float. Just like fermenting sauerkraut we want all the feed to stay under the water. This will stop mold growth. We don’t want mold.
Top it off with water*. Use more water than you think you’ll need because the feed will expand and adsorb a lot. Keep checking on it throughout the day and add more water as needed. You want the feed well under the water.
*Note about the water. You want non-chlorinated water. You can buy distilled water, or boil your water if you have chlorine in it, or leave a large pitcher of your water sitting out uncovered overnight.
Cover the feed you want to ferment with a towel. I just put the lid over it but didn’t lock it down so it could still breathe. Leave it some place warm. I ferment my feed in the bathroom. The bucket is easiest to refill or top up with water in the bath tub, and I see the bucket sitting there so I remember to stir it or check it to make sure it has enough water.
To start it I did add a little bit of the brine from my homemade sauerkraut to act as a starter. If you have homemade fermented foods you can use a little bit of the brine as a starter (like fermented pickles or kimchi). Do not use yeast, or whey from yogurt.
Day 2. Give it a good stir. Leave it be.
Day 3. It should be getting nice and bubbly by day 3. By day 3 you can feed it to your chickens. It should have a slightly sour smell to it.
I scoop it out with a slotted spoon but you can use a fine mesh strainer, cheesecloth, or just serve it as is.
Don’t feed the entire bucket to your birds! Because we don’t have multiple buckets going for feed you want to save a little in the bottom of the bucket. This will act as your starter for the next batch. The idea is very similar to sourdough.
Once you’re done feeding your birds for the day add fresh crumble (Or mash or pellet. Any feed will work for this) to what is left in the bucket. I try to leave a good 2 inches of feed and water in the bottom of the bucket to act as my starter for the next batch. Add the amount of fresh crumble you want and top it off with water. Stir well to mix the older stuff with the new. Let it sit overnight and you will have a new batch all bubbly and ready to go.
A Few More Notes About Fermented Feed
- Plastic isn’t the best thing to use to ferment the feed. I’m in the process of looking for a large glass jar to use. Glass is always the best choice for fermenting in. If you have a small flock, a large mason jar will do the trick. Never use metal.
- This process of fermenting is called lacto fermentation. This is the kind of fermenting that produces probiotics, breaks down grains so they are better adsorbed by the body, and creates lactic acid – a natural preservative that stops the growth of harmful bacteria. This is not the type of fermented that creates alcohol.
- If you get mold growing on the top, discard it. If it smells yeasty or alcoholic, discard it.
- This can be done with any type of feed. Although I did find that BOSS (black oil sunflower seeds) and some grain floated on the top. This can be a mold attractant and we don’t want that. I’ve been sprouting sunflower seeds for them instead, which seems to work better.
- I don’t add extras in everyday, and when I do I follow the 90 – 10 percentage (90% layer feed 10% extras). Extras can be scratch grains, alfalfa, vegetables, egg shells, and kitchen scraps.
- I use this as my sole ration. Because it is still technically layer crumble there is no need to provide the dry stuff as well.
- This can be done for every stage of life a chicken is in – from chick right up to retired layer. Just be sure you are fermenting the proper feed for each stage of life (i.e. chick start for chicks, grower feed for “preteen” chickens, and layer for full grown hens)
The Benefits of Feeding Fermented Feed:
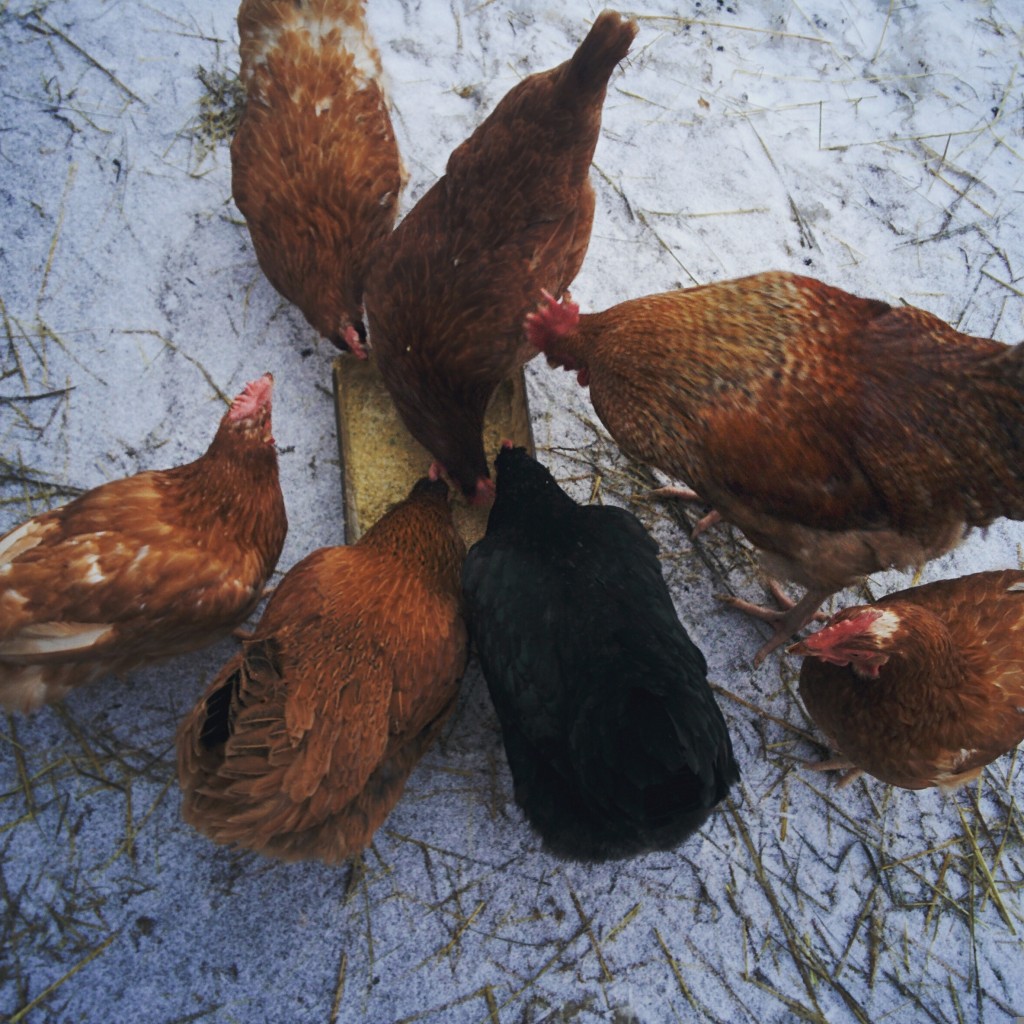
- It will save you money. This I can say for sure. With 21 birds I was going through 1 bag of dry feed a week (in the winter. It’s less in the summer because they forage and free range). I just added more chickens to my flock bringing my flock count up to 40. By fermenting the feed I am doubling the amount in each bag. They also eat less because they feel fuller faster and longer. With 40 birds I am still only going through 1 bag a week.
- It’s easier for the chicken to digest. The enzyme inhibitors in the grains are broken down causing there to be more available nutrients for the bird. This is easier for them to digest and they get more out of their food.
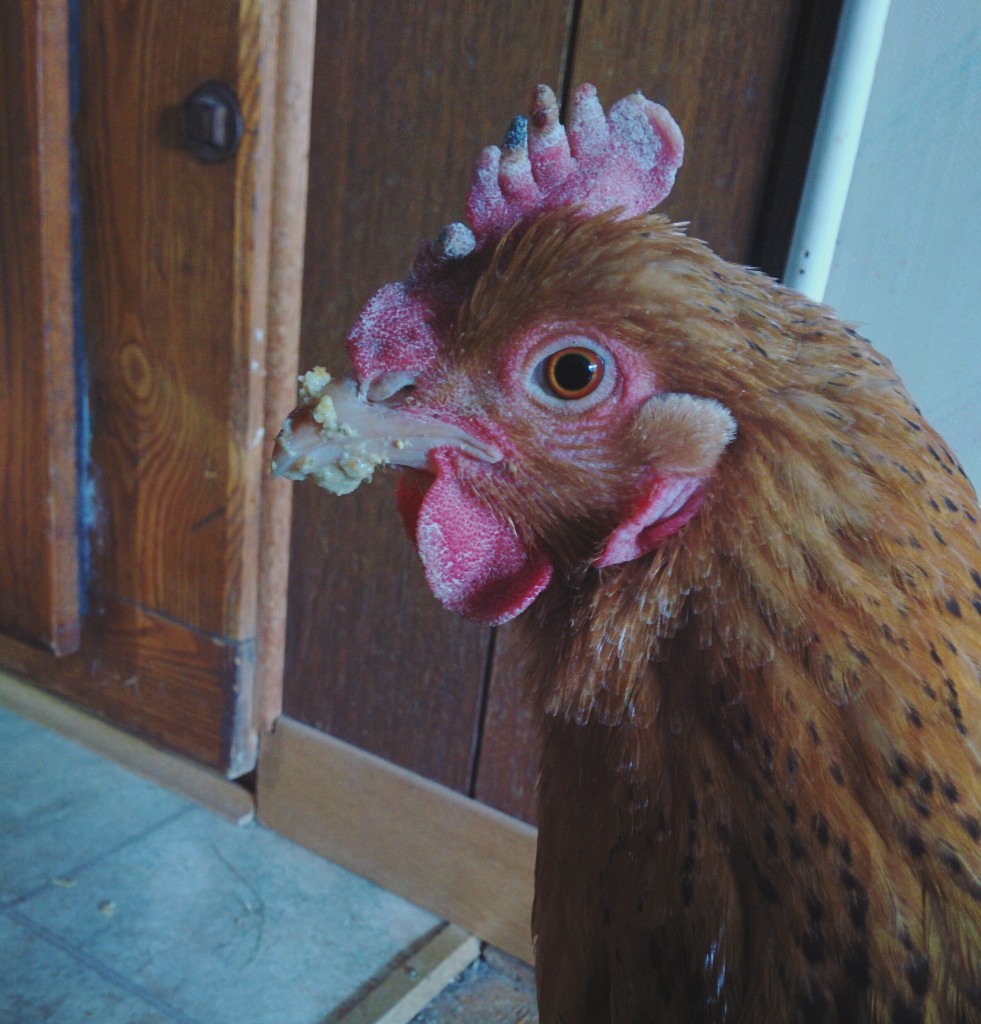
- Less waste. The chickens won’t be picking or scratching through it and throwing aside what they don’t want. My goats hate this as they used to like eating what the chickens threw on the ground. No more mess = unhappy goats. Ah well, life goes on.
- Supports the immune system because of the probiotics. We’ve talked a bit about probiotics on this here little blog. They are the good bacteria that swims around in your gut and fights off bad bacteria (sickness) and keeps things regular. We need probitoics to stay healthy. So does the chicken.
- There is a rumor that they will produce bigger eggs, or have bigger yolks. They are also supposed to have a harder shell. My dear hen Loretta has a lot of problems with her egg laying capabilities and always has very thin shelled eggs. If this will help her stop having such thinned shelled eggs, I’m all for it!
- Their poop will be firmer and have less smell. This I can vouch for. I am seriously picky about the cleanliness of my chicken coop. I have noticed there is less smell and the poops aren’t quite so…well splatter-y. (There’s an image for you). This makes for an easier time scrapping the droppings board. Which I appreciate.
So that is my feeding routine. I encourage you to try it! It isn’t that much more work, and has helped a lot with the budget, if nothing else.
Healthy chickens is what it is all about. In the end healthy chickens = healthy eggs. We are what we eat. Let’s make sure it is the best for the least amount of money 😉 .
And amen.
If you want more reading on fermented chicken feed you can check out this in depth article.
This article talks about lacto fermentation in detail.
This article talks about the benefits of soaking grains.
Shared with Mostly Homemade Mondays and Our Simple Homestead Blog Hop


You gave the best explanation of how to do this that I have read so far. Thank you.
Very good article. Well written. I have mine in the garage. It is too cool out there this time of year to get a good fermentation, but I believe the hens can digest it better since the grains are softened.
I’m having problems with the sides of the fermentation bucket getting dried food stuck on them and then pink mold forms. Do you have to wash out the bucket a lot?